Get quick appointment for technical support!

Star-Delta Starting and the Contactors It Needs
Sep 21, 2026
Star-delta starting works by reconnecting the motor windings part way through the start. The motor begins with its windings in star and finishes with them in delta, and the switch between the two happens in a fraction of a second. Everything that makes the method work, and everything that goes wrong with it, sits in that fraction.
This guide follows one start from the instant the button is pressed and describes what each of the three contactors is doing at that moment.
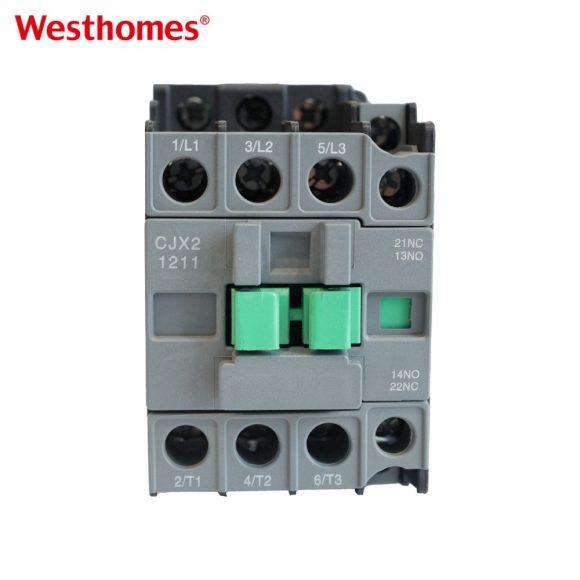
The Three Contactors and What Each Does
A star-delta starter uses three contactors, and confusing their roles is the most common wiring error. A star-delta starter uses three contactors, and confusing their roles is the most common wiring error. Each one has a different job and a different current to carry.
The main contactor connects the supply to the motor and stays closed for the whole run. It carries the full line current in both star and delta. The star contactor links the winding ends together and closes only during the start. The delta contactor links the windings into a delta and closes only for running.
The same contactor family serves direct starting and star-delta starting. The frames are listed under CJX2 series AC contactor with the current each frame carries at the supply voltage.
| Contactor | Closed during | Carries | Sized on |
| Main | Start and run | Full line current | Motor line current |
| Star | Start only | One third of line current | About 58 percent of the delta frame |
| Delta | Run only | One third of line current | About 58 percent of the delta frame |
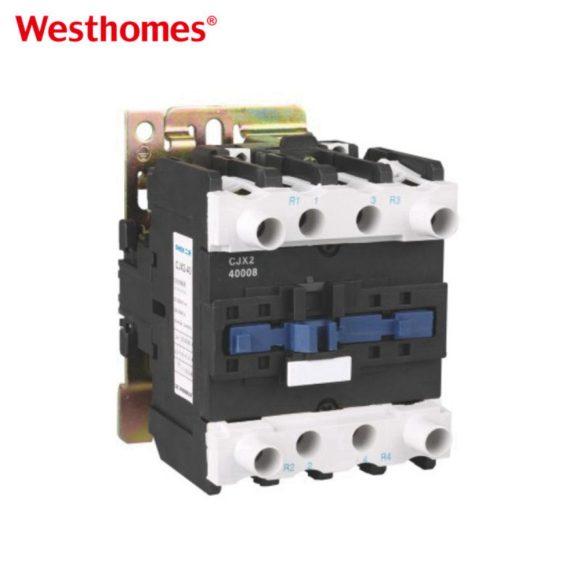
T0, the Button Is Pressed
The main contactor and the star contactor close together, and the delta contactor stays open. The main contactor and the star contactor close together, and the delta contactor stays open. The motor windings are now in star, and each winding sees the phase voltage rather than the line voltage.
Because each winding sees a lower voltage, the current it draws is lower and the torque it produces is lower. Because each winding sees a lower voltage, the current it draws is lower and the torque it produces is lower. The starting current is roughly one third of what the same motor would draw in a direct start, and the starting torque falls by the same factor.
The reduction in torque is what limits where the method can be used. The reduction in torque is what limits where the method can be used. A load that needs full torque to break away will not accelerate in star, and the starter will sit in the start position drawing current without the motor reaching speed.
T0 to T8, the Motor Accelerates in Star
The motor speeds up on a reduced torque and a reduced current, and both fall as the speed rises. The motor speeds up on a reduced torque and a reduced current, and both fall as the speed rises. During this period the star contactor carries the winding current, which is the current in one third of the circuit rather than the full line current.
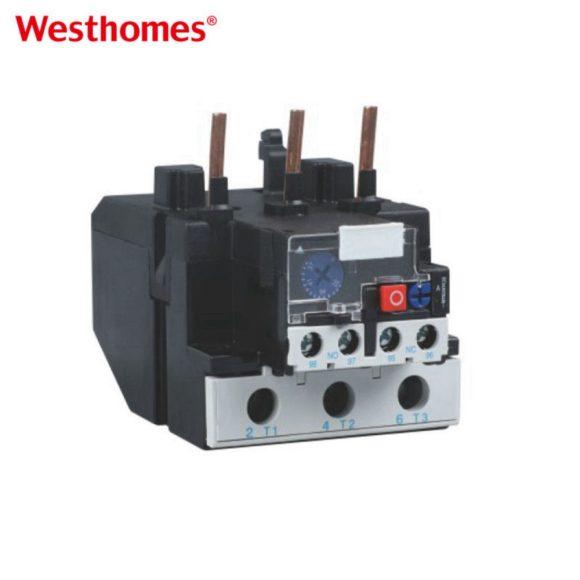
The relay is timing the whole start, and its setting is chosen against the current the motor actually draws in star rather than against the nameplate delta current. Setting the relay on the nameplate figure produces a relay that sees a current well below its setting and offers no protection during the start at all.
The timer is running from the moment the start contactors close, and its setting is the subject of the next section.
T8, the Transition, Which Is the Risky Moment
The timer opens the star contactor, and a moment later the delta contactor closes. Between those two events the motor is running with no connection at one end of its windings, and it is coasting. The motor is effectively disconnected at the moment between the two events.
If the delta contactor closes while the star contactor is still closed, the supply is short-circuited through the two contactors. That is the fault that destroys starters, and it happens when the timer is set short or when the interlock between the two contactors has failed.
The interlock is what prevents both from being closed at once, and it is a wiring arrangement that has to be tested rather than assumed. The electrical interlock uses the normally closed auxiliary contact of one contactor in the coil circuit of the other, so neither can energize while the other is closed.
The current during the transition is the other problem. The motor coasting in star has a residual voltage, and closing into delta against that voltage produces a current spike larger than the direct start current. The spike is brief and it is what wears the contacts.
T8 to T10, Running in Delta
In delta the motor sees full voltage across each winding, and the current settles to the normal running figure. The delta contactor and the main contactor stay closed for as long as the motor runs.
The delta contactor in the run state carries the same winding current as the star contactor did, which is why both are sized on the same figure rather than on the line current. Selecting them on the line current produces a starter that is larger and more expensive than it needs to be.
The relay is now in the delta circuit and follows the full winding current, so its setting governs the run rather than for the start.
Setting the Timer
The timer is set from the time the motor takes to reach something close to full speed in star, and that is measured rather than guessed. A timer set too short transitions before the motor has accelerated, and the current spike is larger. A timer set too long leaves the motor running in star, where it draws more current for the same output than it would in delta.
The published reduction in starting current is the selling point of the method, and it only holds if the transition happens at the right point. The measurement is worth taking on the first start and again after any change to the driven load.
Where the load is heavy enough that the motor never reaches speed in star, the method is the wrong one rather than badly set. A soft starter or a variable frequency drive produces the same current reduction without depending on the load reaching a speed.
What to Check Before the First Start
- Confirm the motor has six terminals and is rated for the supply voltage in delta.
- Confirm the star and delta contactors are electrically interlocked through auxiliary contacts.
- Confirm the relay is set against the star current rather than the nameplate delta current.
- Set the timer from a measured acceleration time rather than from a table.
- Confirm the delta contactor is rated for the current one third of the line carries.
- Record the current in each phase during the start and compare it with the calculation.
The settings behind the transition are covered in the relay guide on thermal overload relay, which lists the setting range that pairs with each contactor frame.
The Short Version
Star-delta starting lowers the starting current by reconnecting the windings, and everything that goes wrong happens in the transition between the two connections. The main contactor runs throughout, the star contactor closes only for the start, and the delta contactor closes only for the run. Both the star and the delta device carry the winding current, which is why each is smaller than the main contactor rather than matched to it. The interlock between them is what stops the supply being short-circuited through two closed contactors, and the timer is set from a measured acceleration rather than from a table. Where the driven load cannot reach speed in star, the method is the wrong one rather than badly adjusted.

--- END ---
In this blog
Featured Articles
Get A Free Quote
